WebOps allows you to build a website in two different ways:
- Build With AI – the fastest way to generate a fully functional website automatically
- Build With Templates – gives you full control by choosing and customizing templates
This guide explains how the builder works and how to choose the right option.
Step 1: Sign In to Your Dashboard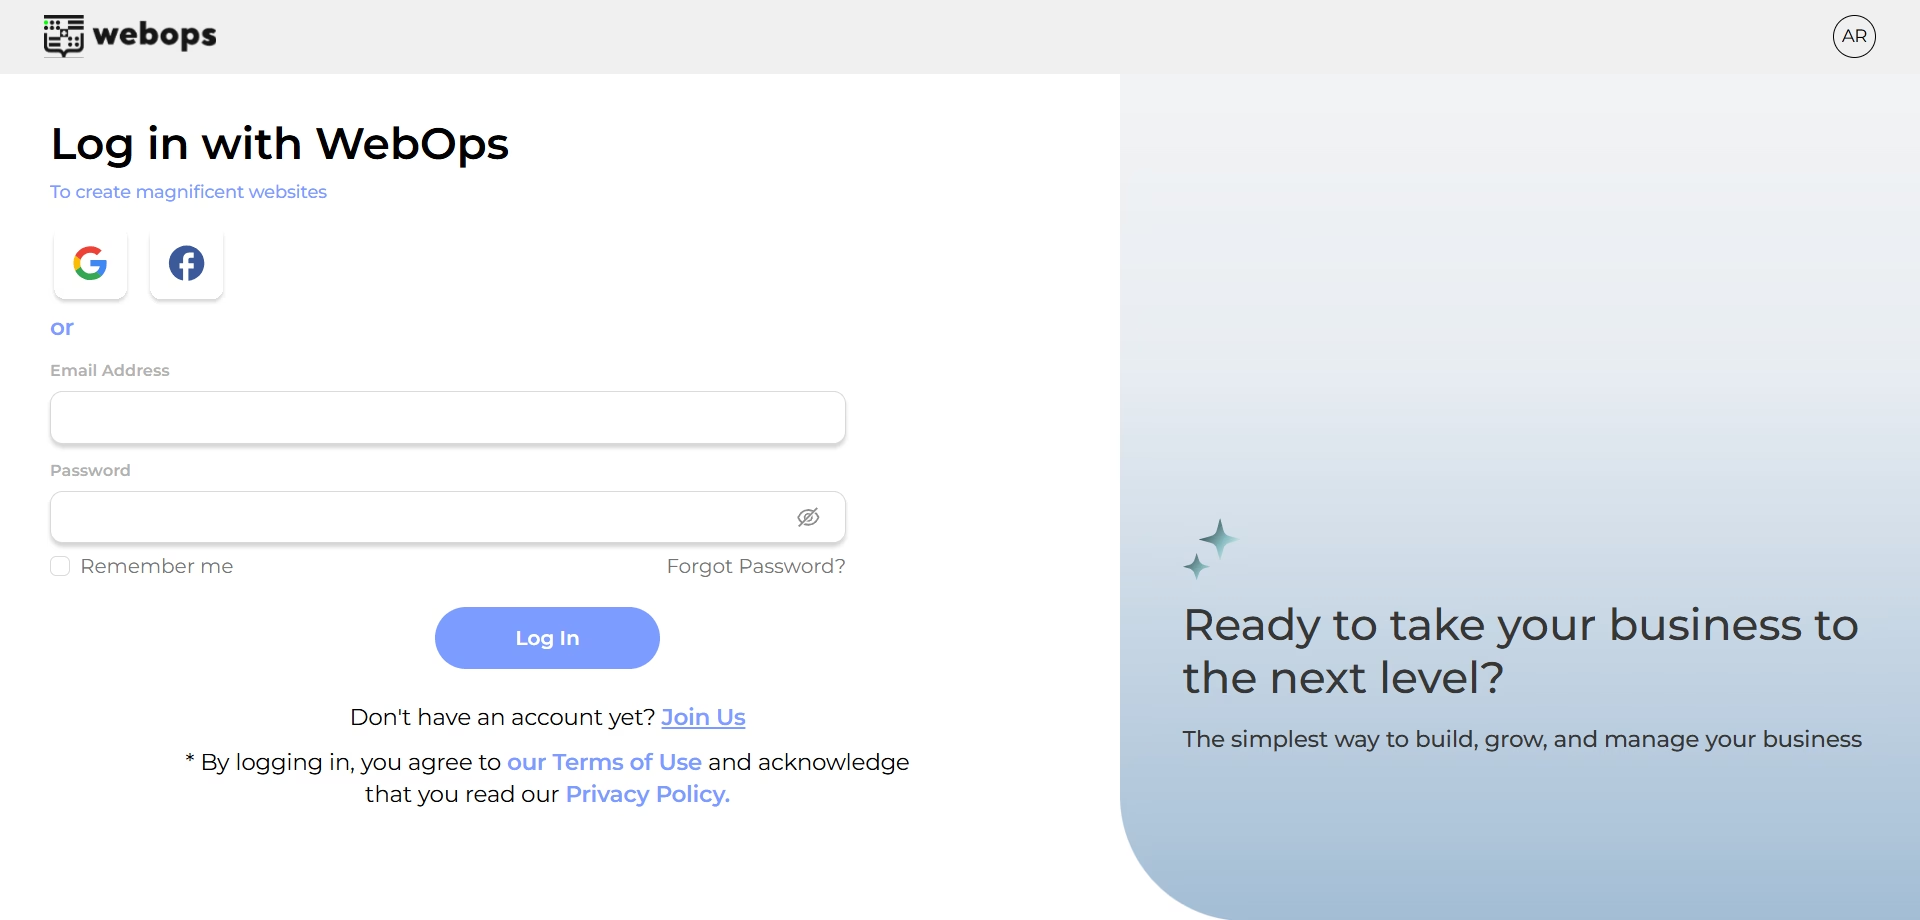 #
#
- Go to app.thewebops.com
- Click Sign In
- Enter your email and password.
Once authenticated, you’ll land on your Dashboard where you can manage all your websites.
Step 2: Create a New Website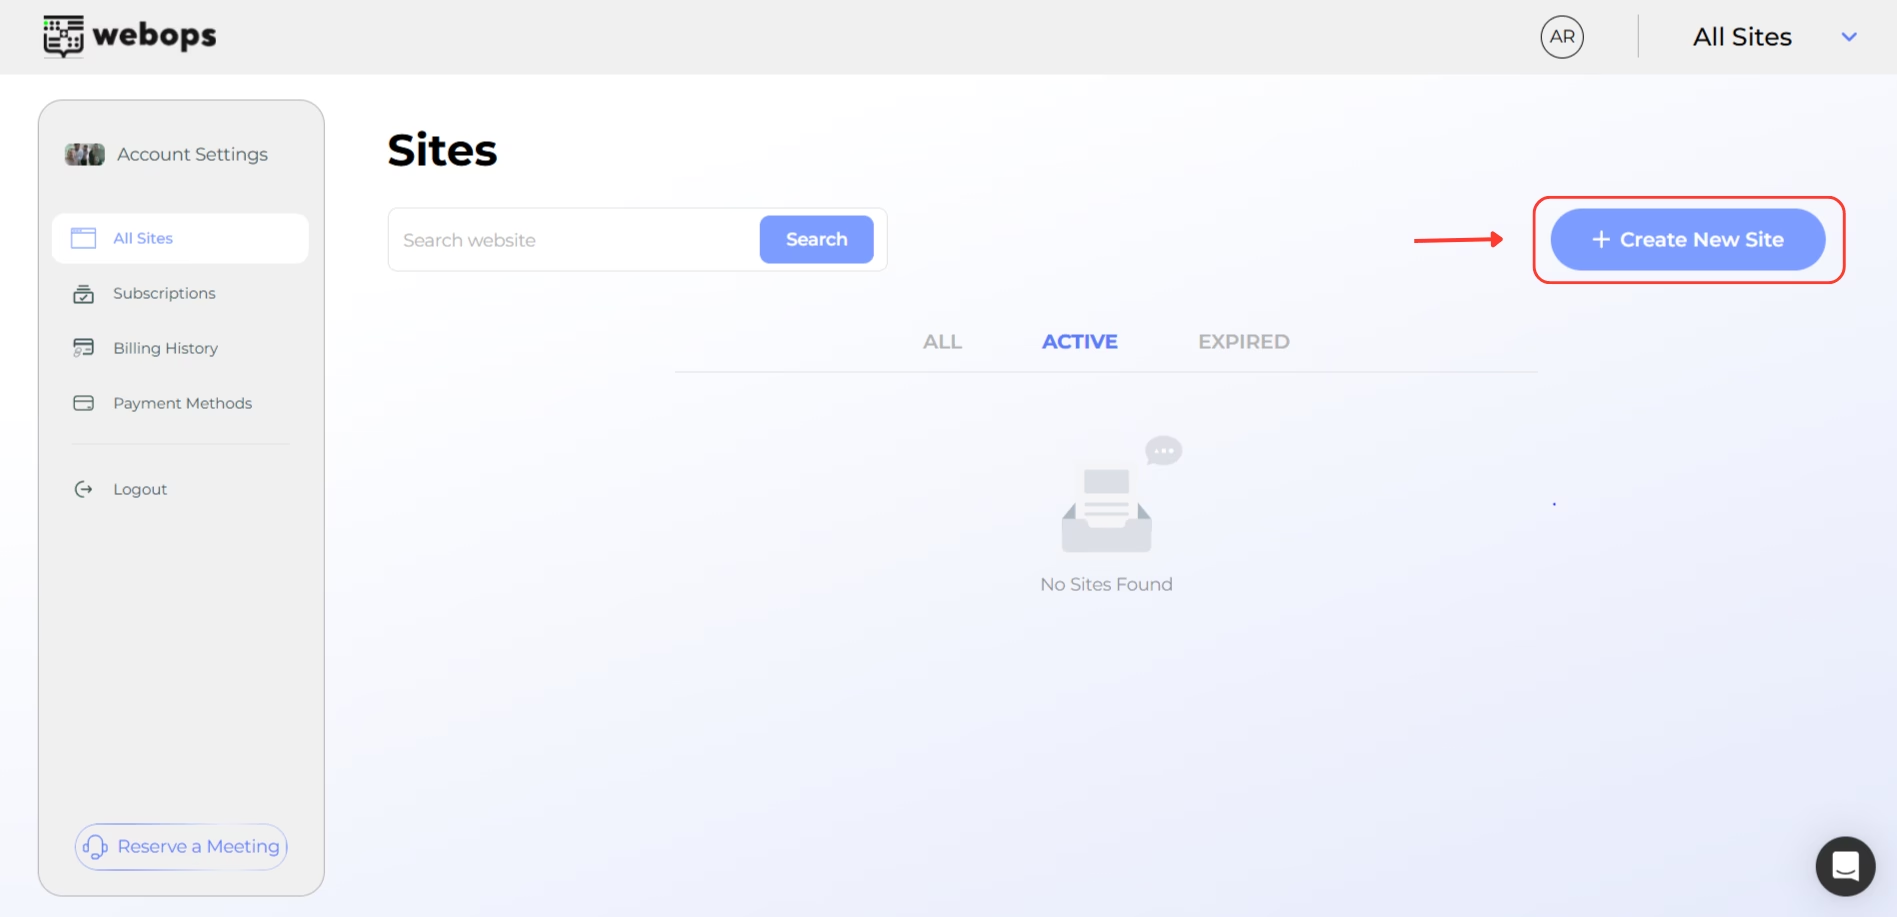 #
#
In your Dashboard:
Click Create New Site
Choose whether you want to start with:
- Free Trial
- Paid Plan
Click Continue.
Your website will now begin provisioning.
This usually takes a few seconds.
Step 3: Answer the Setup Questions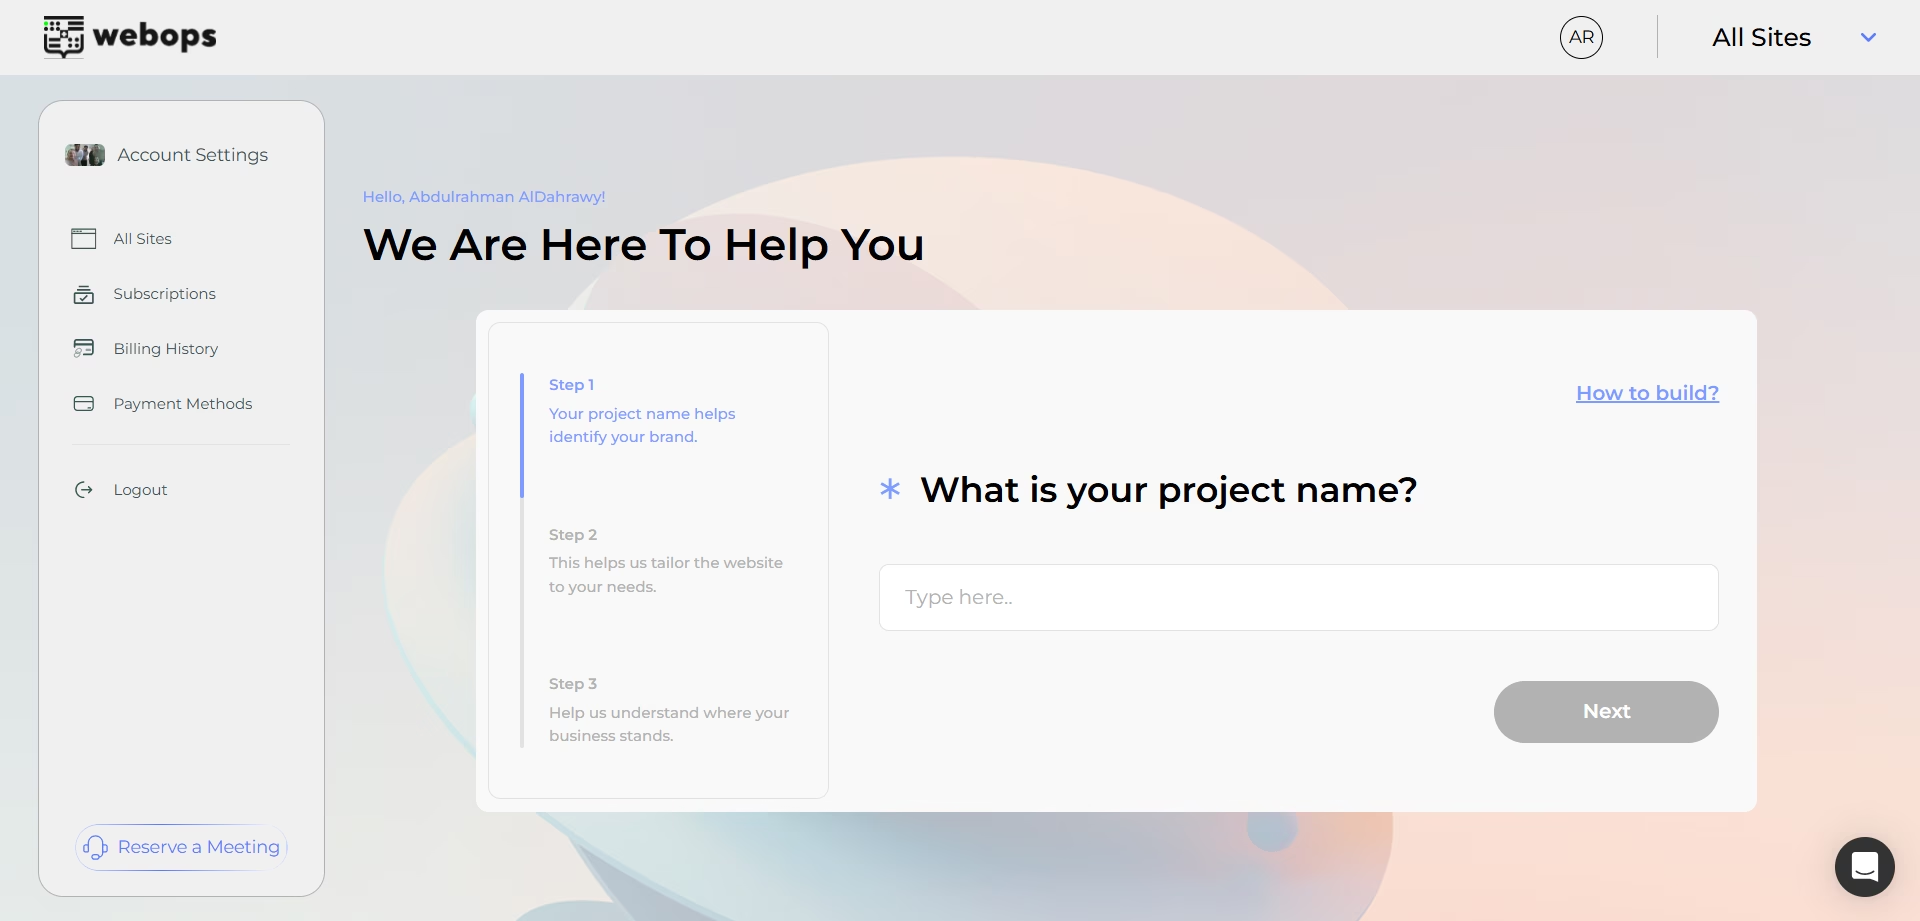 #
#
Before building your website, WebOps asks a few quick questions to understand your project.
These questions help tailor the website to your needs.
You will be asked to provide:
- Project Name
Enter the name of your website or brand. - Website Type
Select the type of website you want to build. - Language
Choose the primary language for your website.
Once you complete these questions, click Start Building.
Step 4: Choose Your Building Method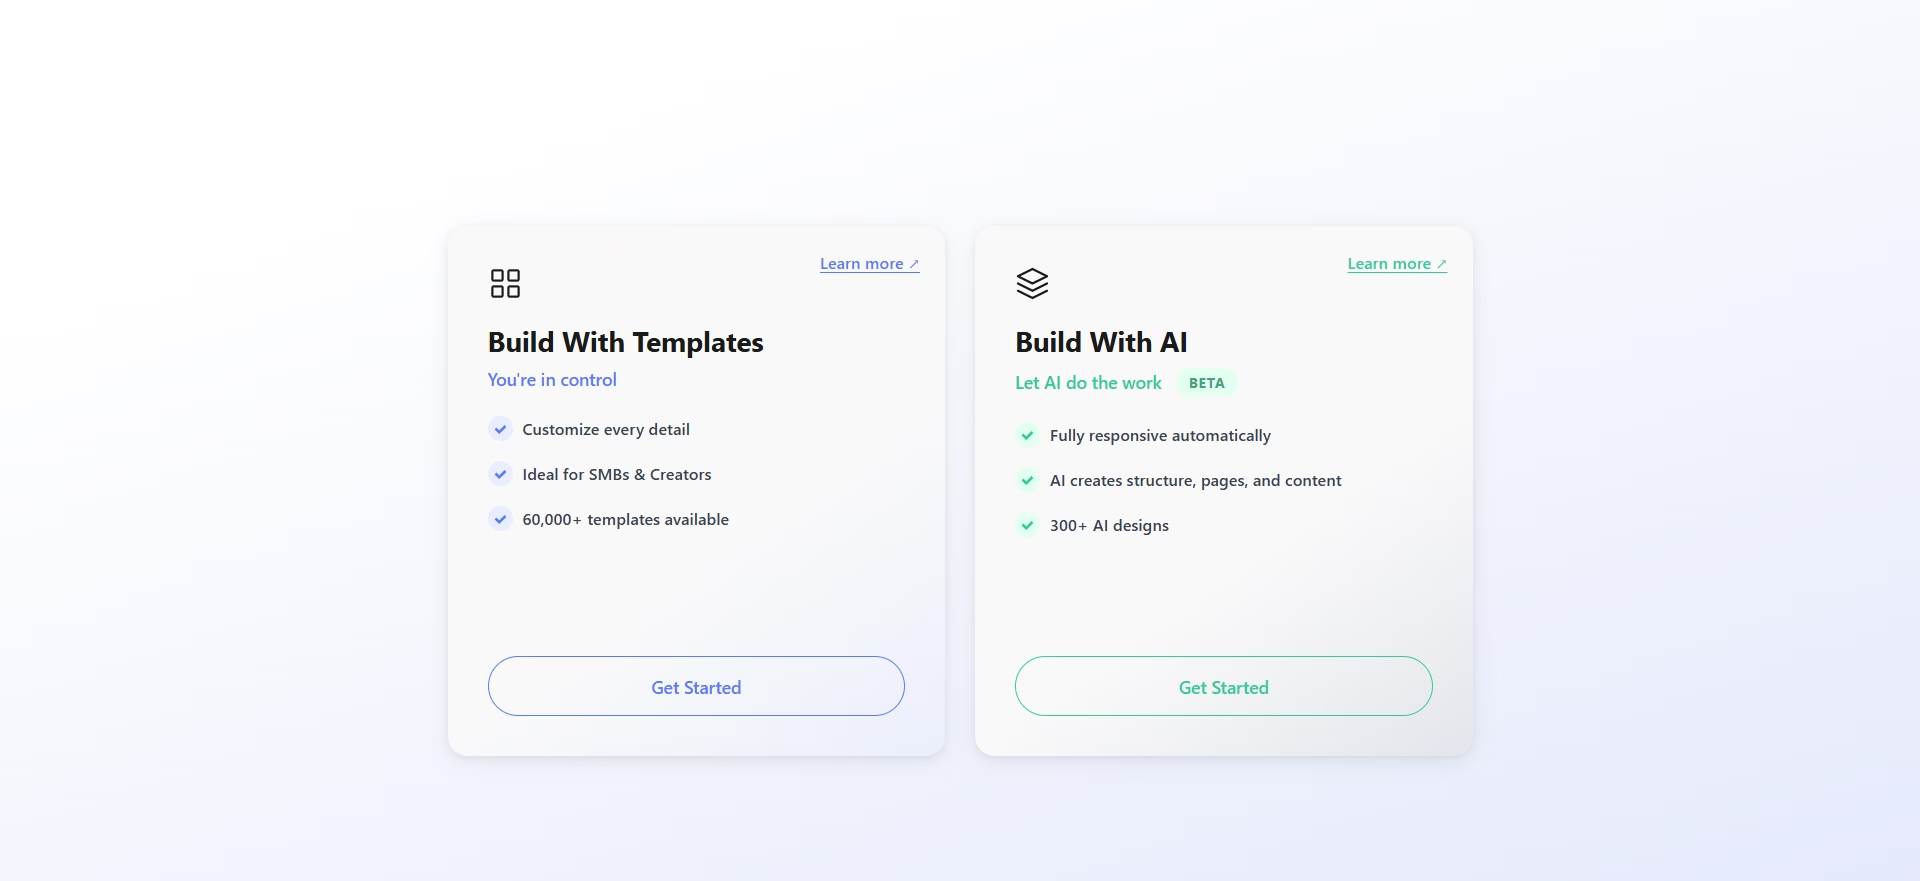 #
#
After clicking Start Building, you will choose how you want to build your website.
WebOps provides two building options.
Option 1: Build With AI (Beta)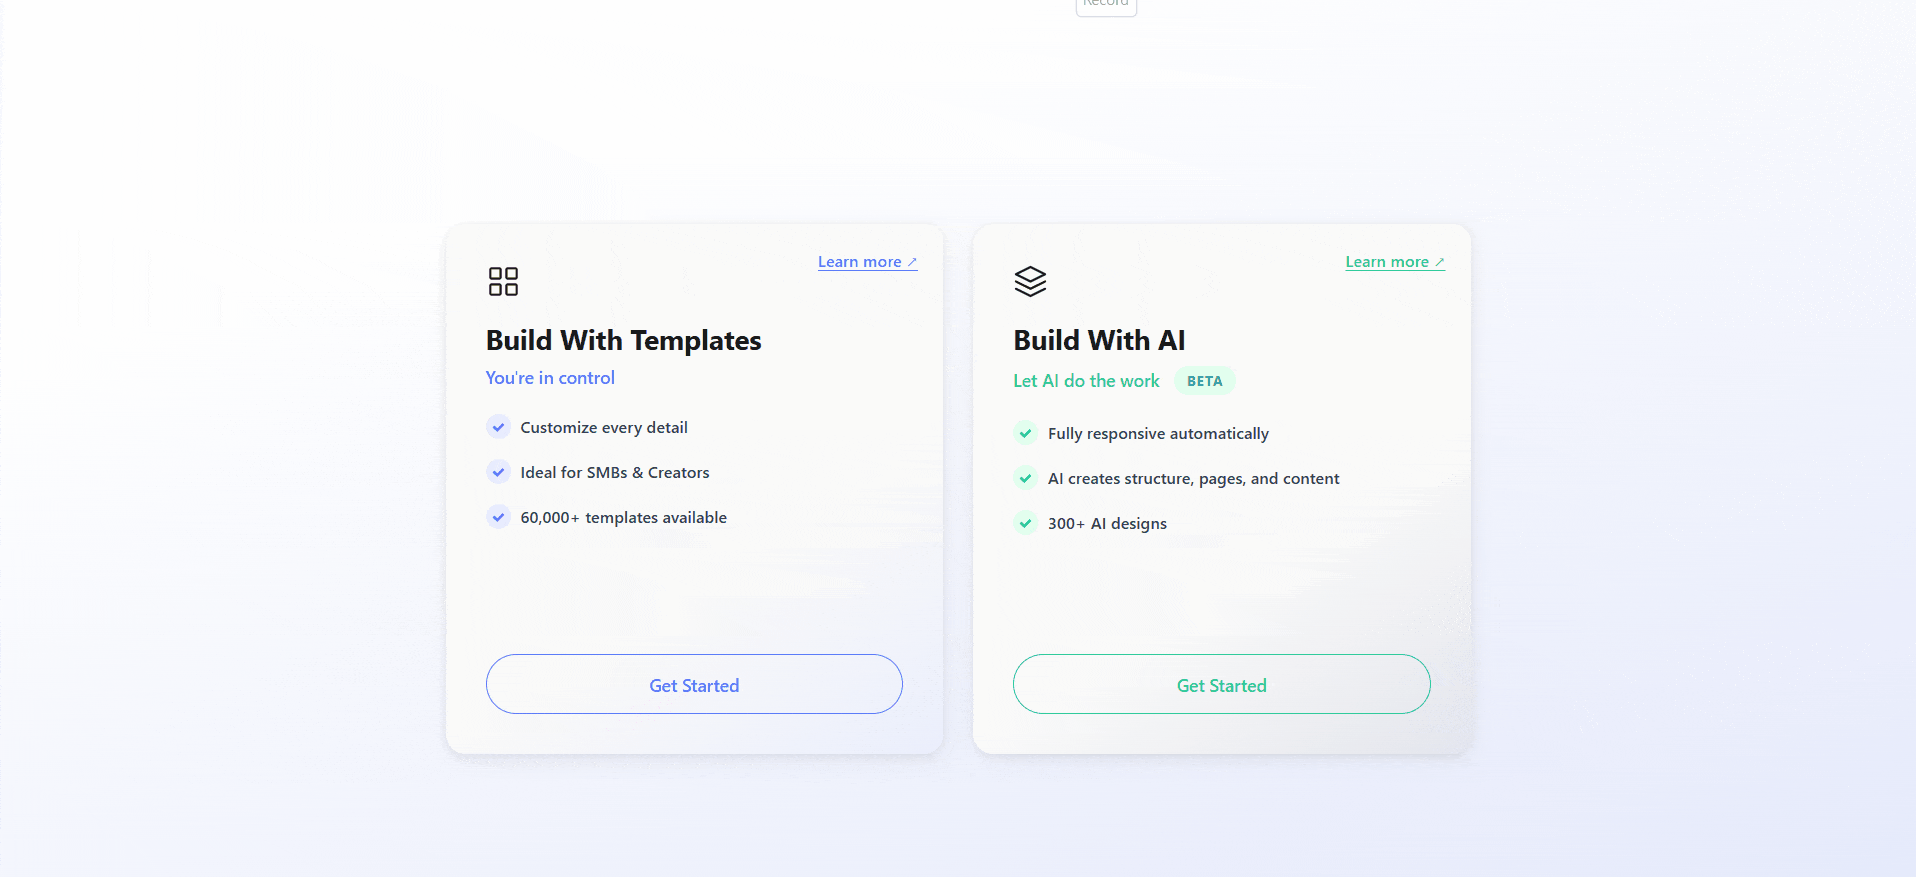 #
#
This option uses artificial intelligence to generate your website automatically.
The AI builder will:
- create your website structure
- generate pages
- add layouts and design
- prepare your site to be edited and published
This is the fastest way to create a website and is ideal if you want a complete website in minutes.
Learn more:
How to Build a Website Using AI Builder
If you want to build an online store, see:
How to Build an E-Commerce Website Using AI Builder
Option 2: Build With Templates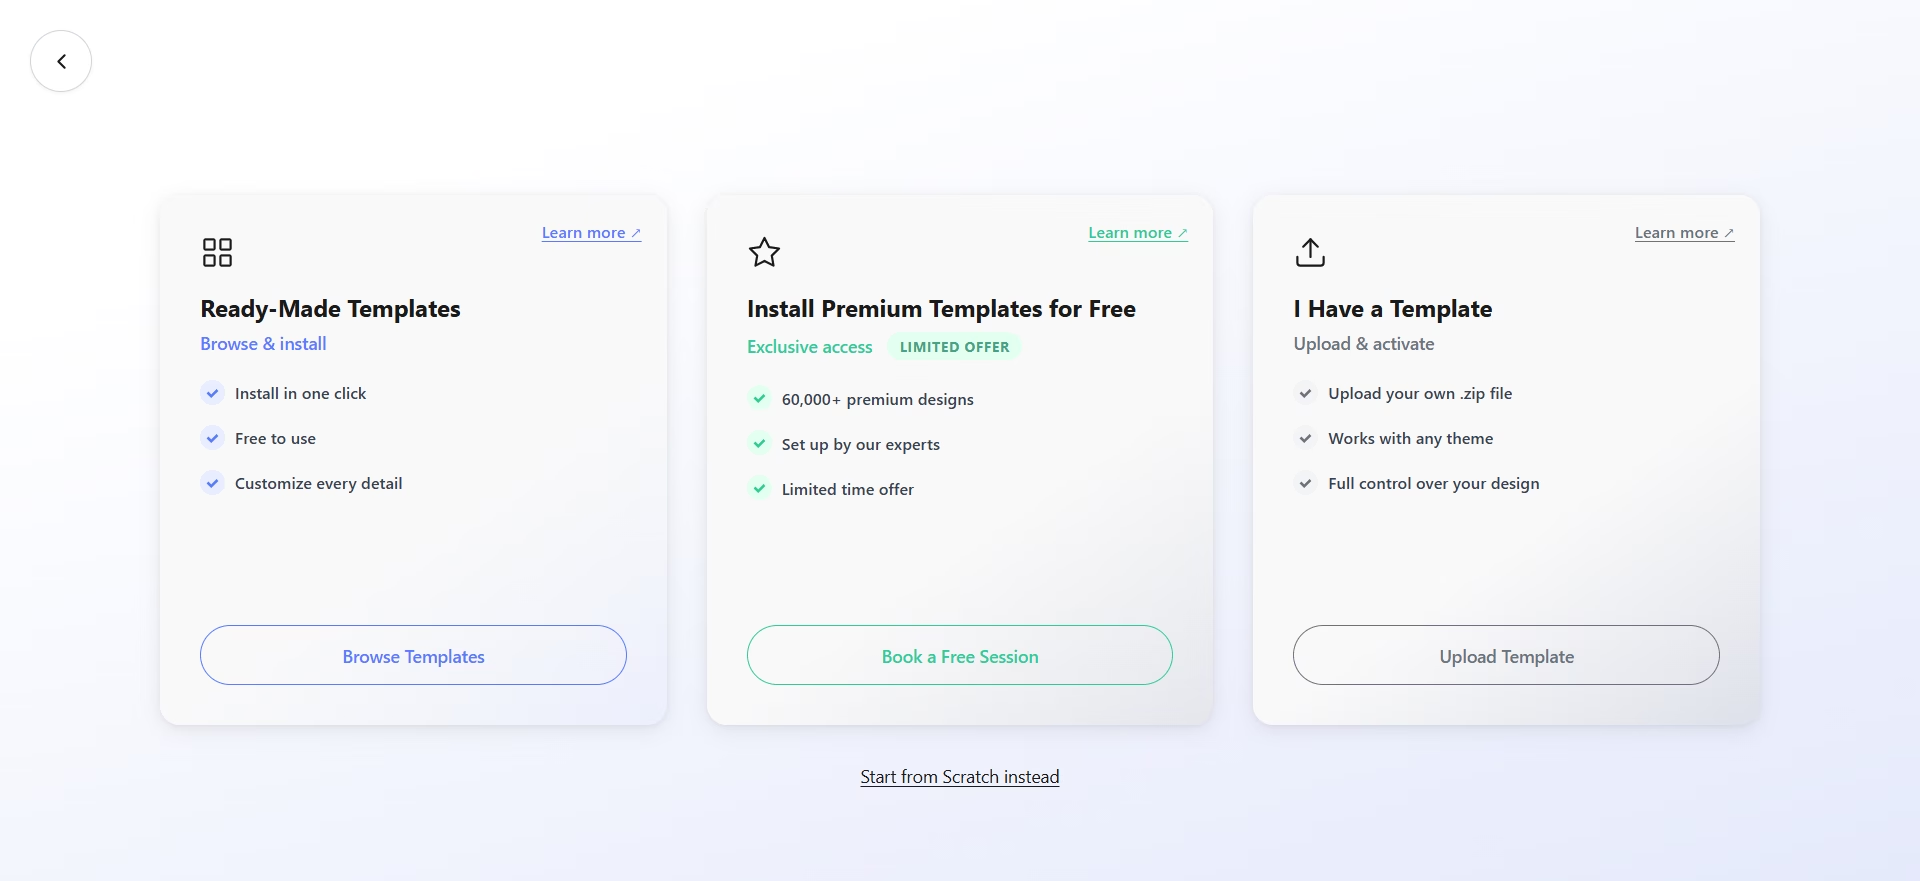 #
#
This option gives you more control over your website design.
Instead of generating the website automatically, you choose or upload a template and customize it yourself.
After selecting this option, you will see four choices:
2.1 Ready-Made Templates #
Browse a collection of free templates and install one with a few clicks. You can then customize every part of the website.
Learn more:
How to Build a Website Using Ready-Made Templates
2.2 I Have a Template #
Upload a template you already own or purchased from marketplaces like ThemeForest.
Learn more:
How to Build a Website Using Your Own Template
2.3 Install Premium Templates for Free #
Choose a premium template from Envato or ThemeForest, and our team will help you install and configure it during a setup session.
Learn more:
How to Install Premium Templates for Free
2.4 Start from Scratch #
Start with a blank WordPress website without any pre-installed templates.
This option gives you full control to build your website from the ground up.
It is ideal if you:
- want a completely custom design
- prefer building everything manually
- do not want to use pre-made templates
Which Option Should You Choose? #
Choose Build With AI if you:
- want the fastest setup
- prefer automation
- want your website generated automatically
Choose Build With Templates if you:
- want full design control
- prefer choosing a template manually
- already purchased a template
Both methods create a fully functional WordPress website that you can edit later from your dashboard.
What Happens Next? #
After building your website, you will gain access to your WordPress Dashboard where you can:
- edit pages
- add blog posts
- upload images
- customize design
- install plugins
- manage your website
Your site is now ready to be customized and published.
Helpful Tip #
For the best website building experience, we recommend using the desktop version of WebOps.