Building an online store? This guide covers general websites. For selling products online with e-commerce features, check out How to Build an E-Commerce Website.
Step 1: Select Build With AI #
After answering the setup questions and clicking Start Building, choose the Build With AI option.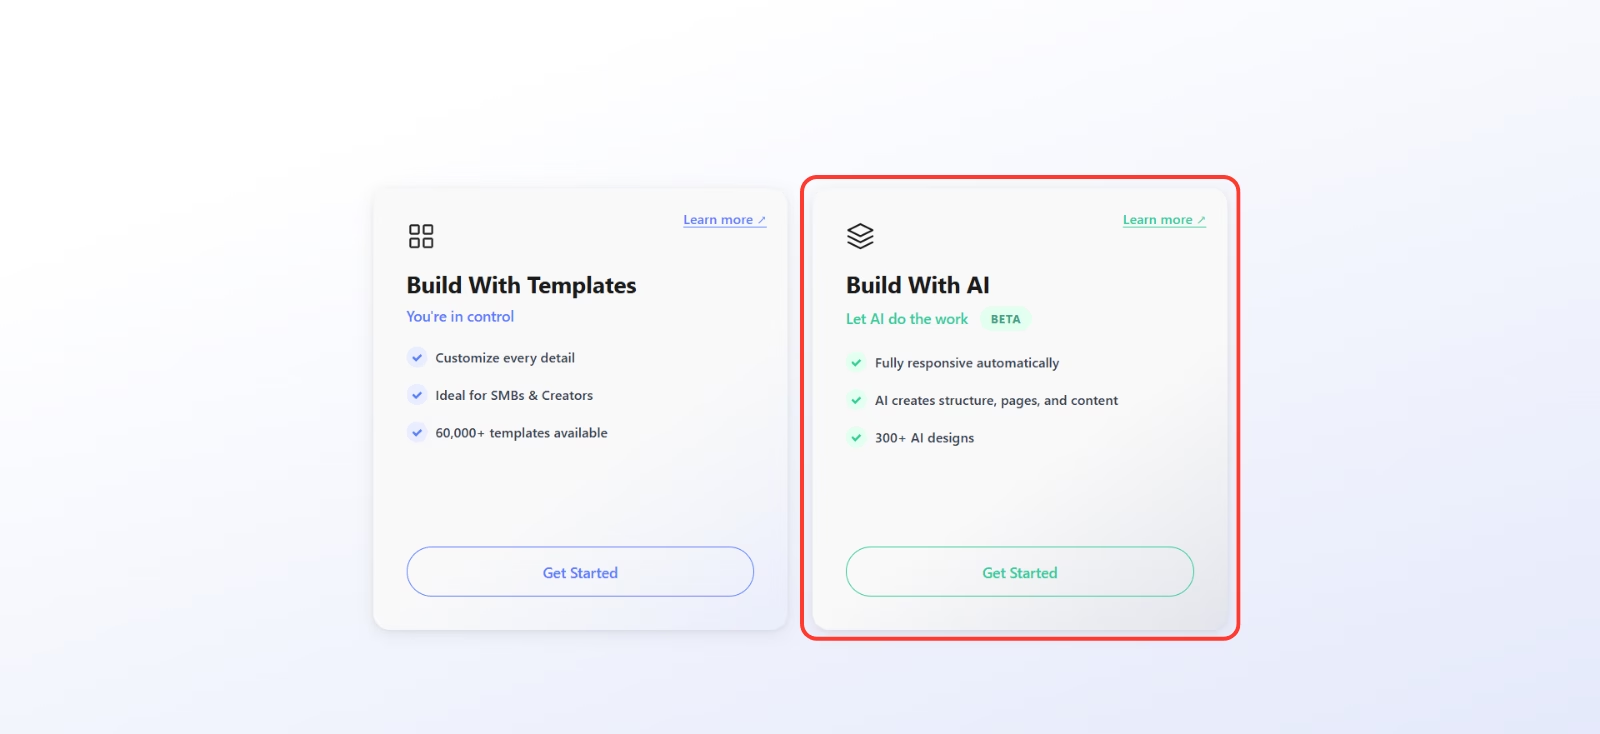
The AI builder will guide you through the process of generating your website automatically.
Step 2: Fill In the Basic Details #
WebOps will guide you through a step-by-step process to set up your website:
2.1 Set Your Website Name, Type, and Language #
Choose a name and specify the purpose of your website (e.g., Local business, Portfolio, Blog).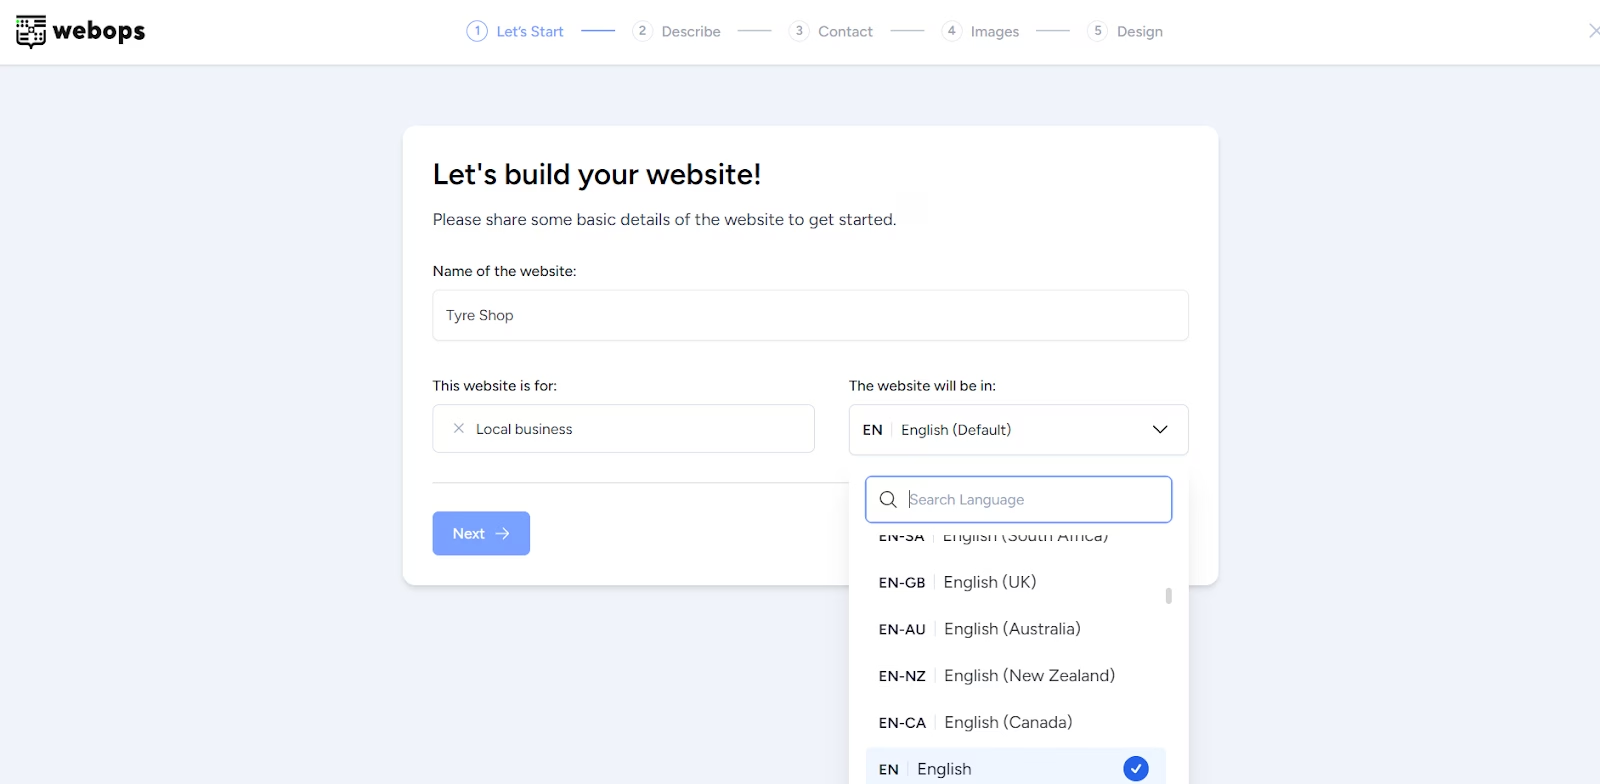
2.2 Describe Your Business #
Briefly describe your business, or use the “Write Using AI” option to automatically generate content.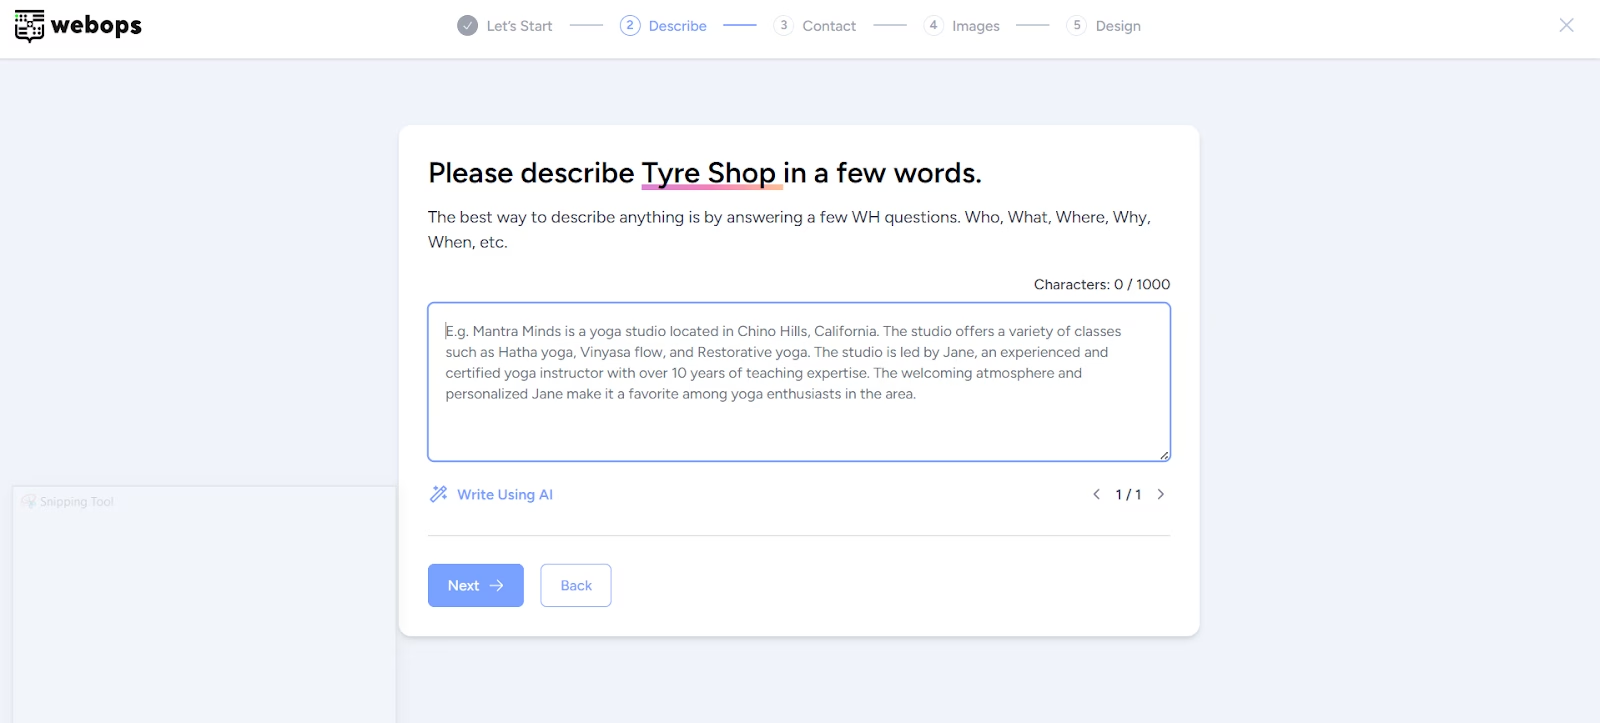
2.3 Add Contact Info #
Provide your business email, phone number, address, and any social media links.
Step 3: Choose Images #
Search or upload images relevant to your business. You can also select from curated AI-suggested categories.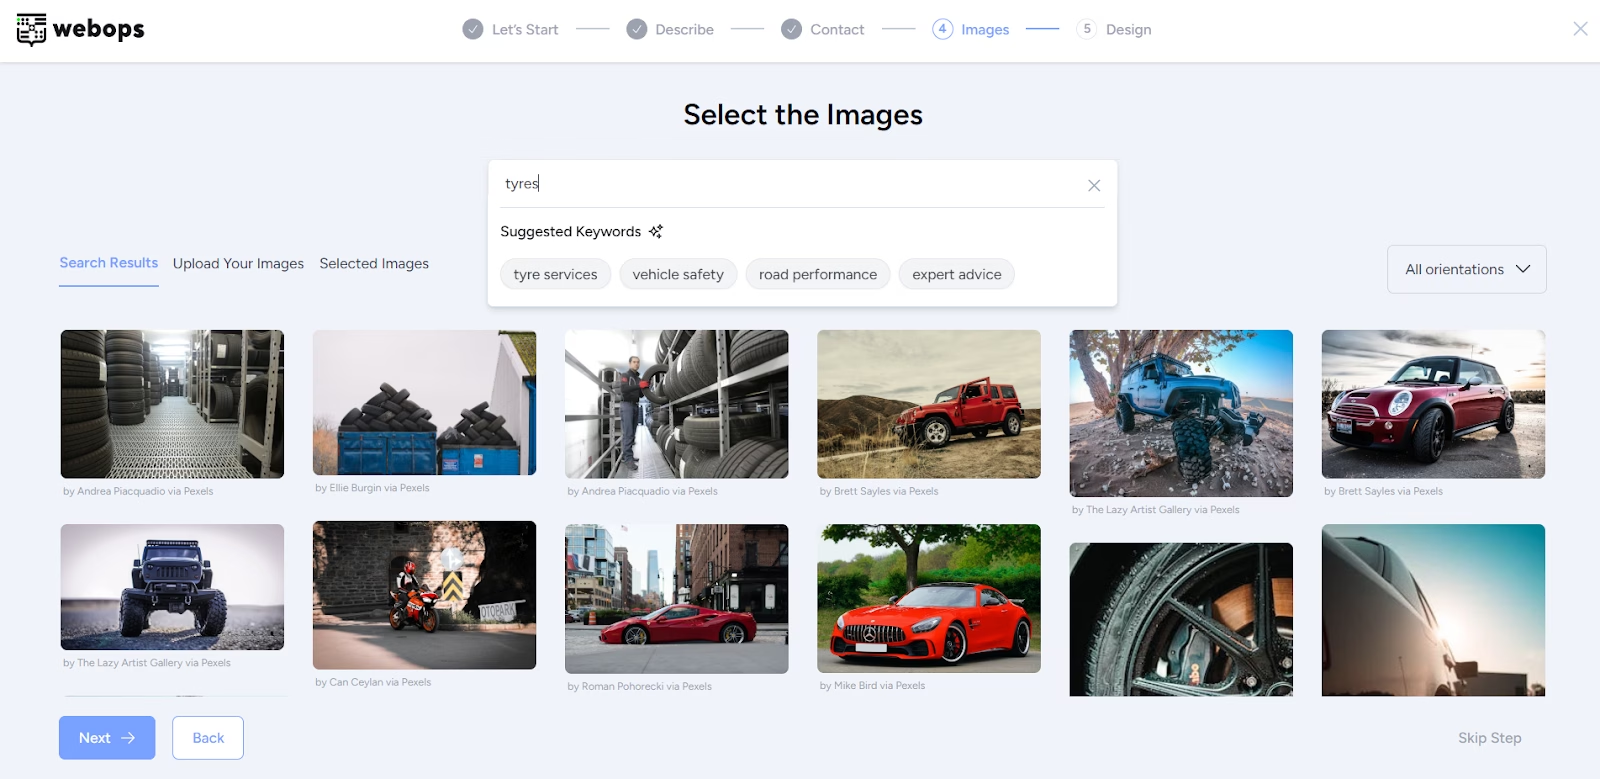
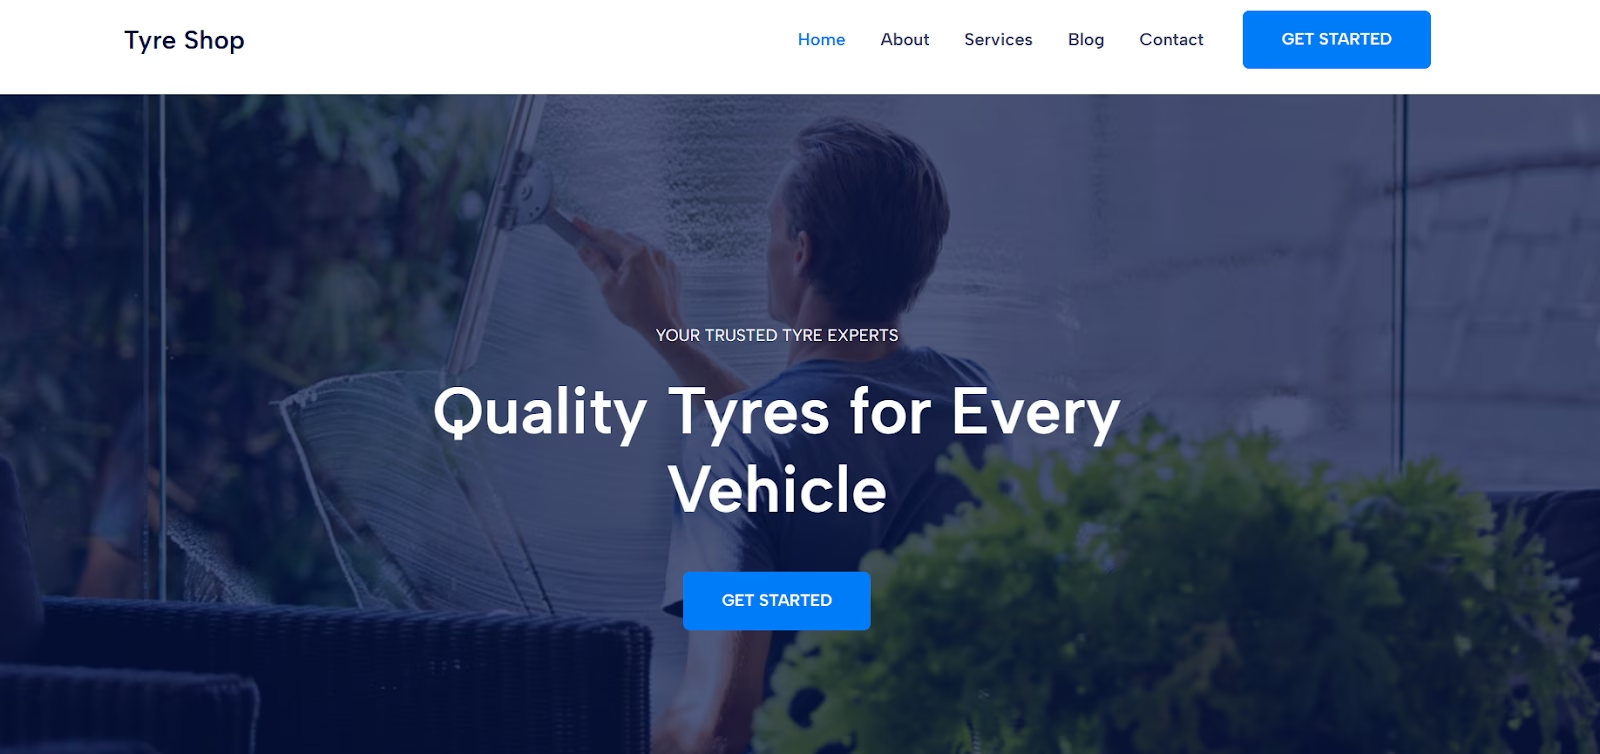
Step 4: Select a Design Template #
Pick from a variety of AI-suggested templates that best represent your brand.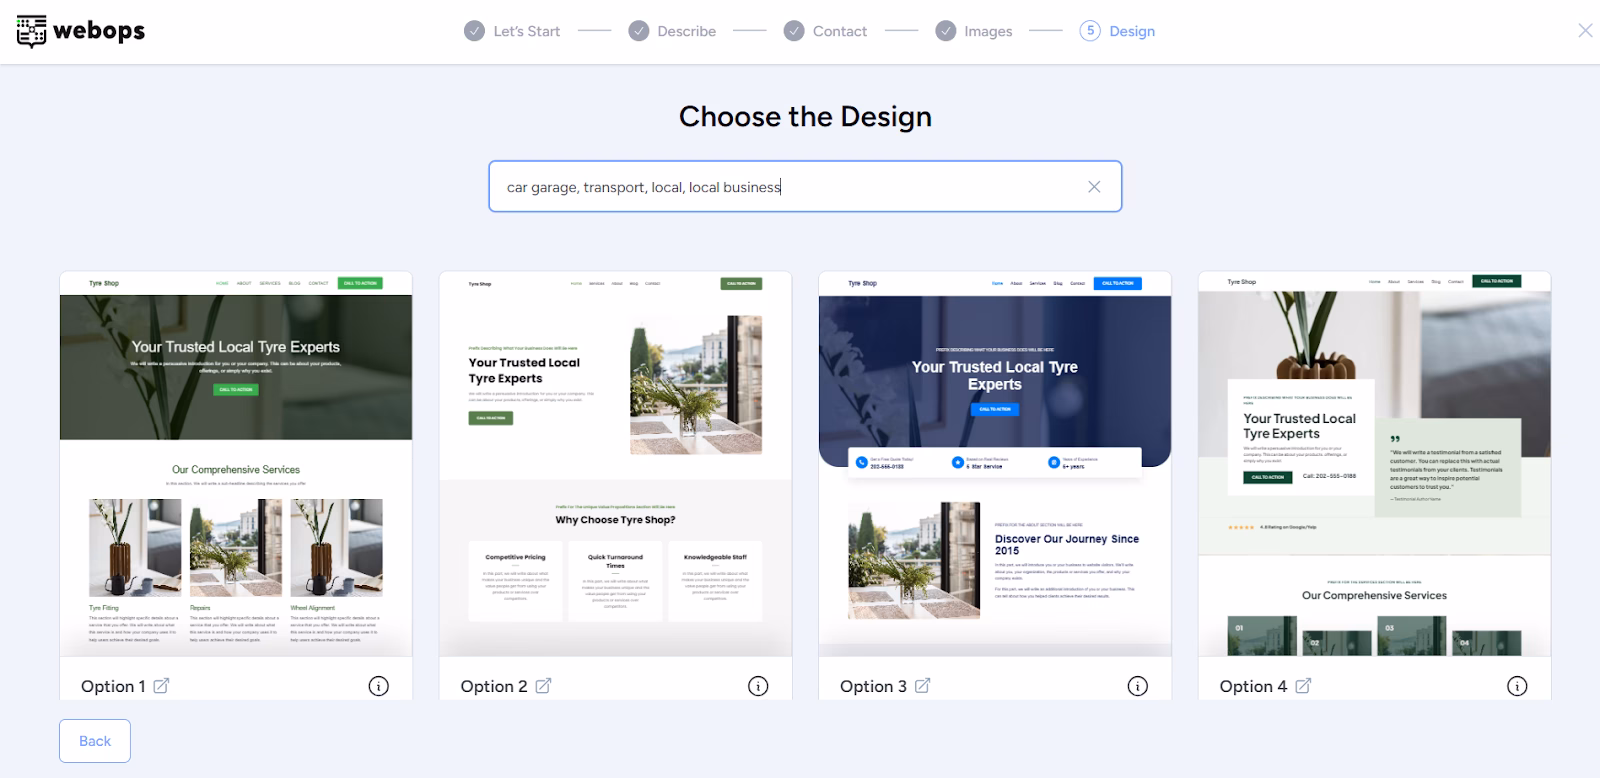
Customize font and color palette, and preview responsiveness across devices.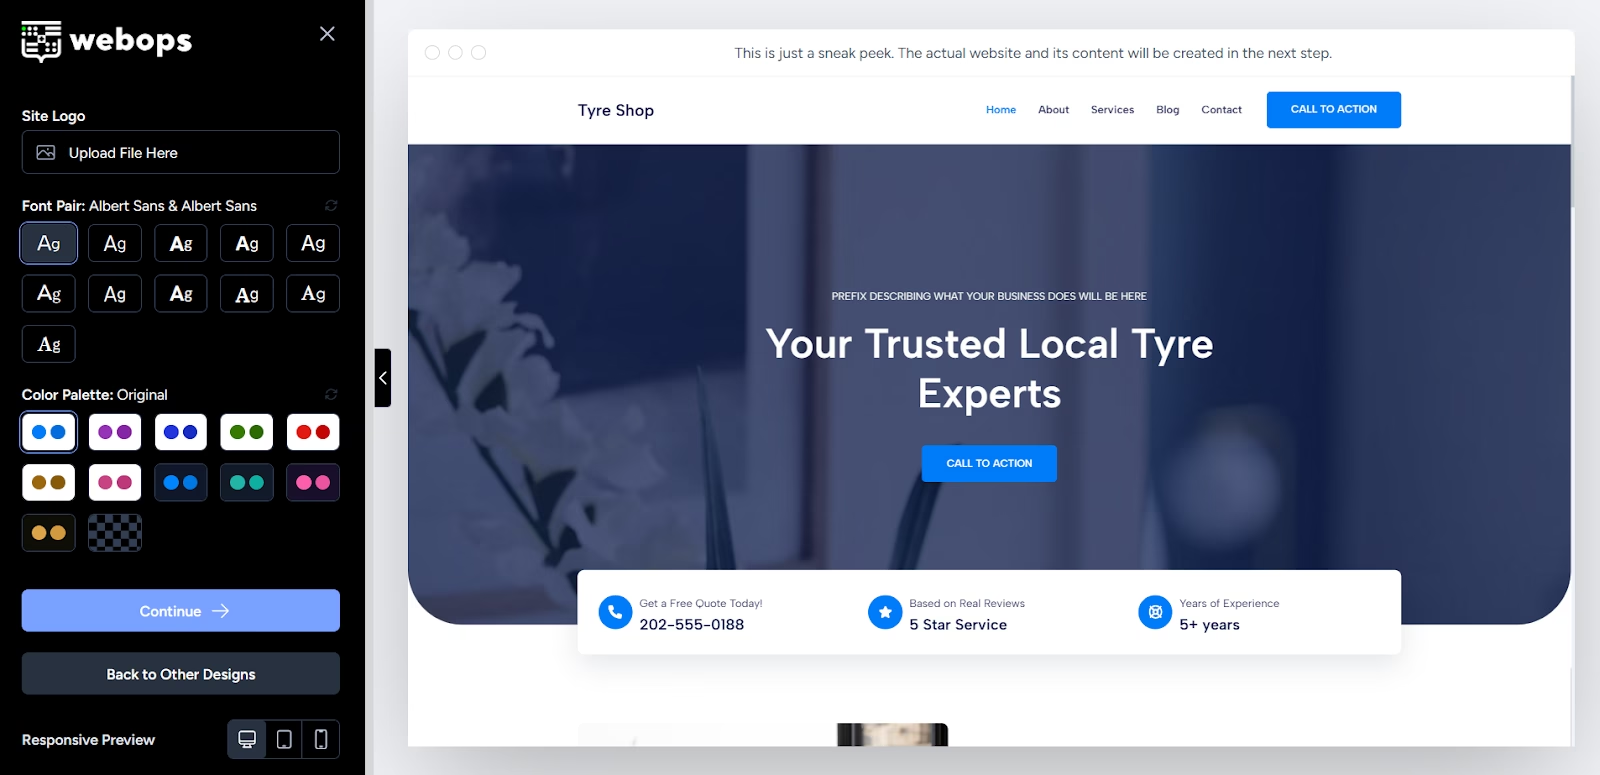
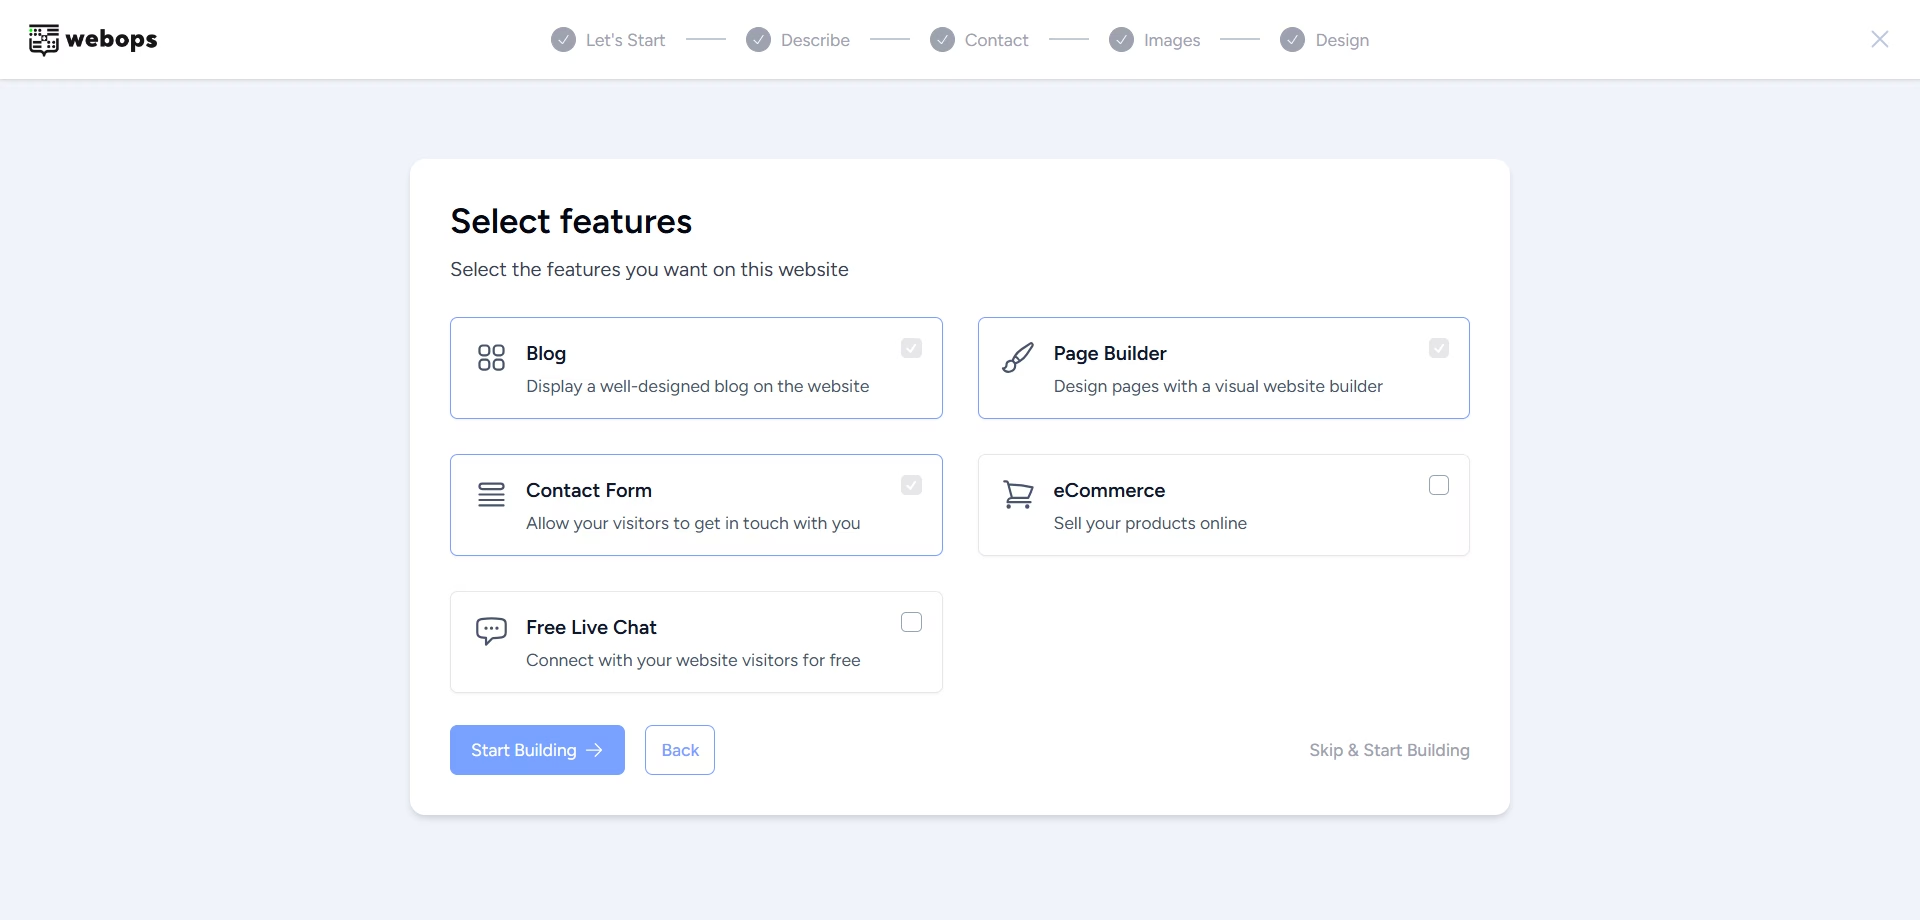
Step 5: Choose Features #
Select the features you’d like your site to include:
- Blog
- Page Builder
- Contact Forms
- eCommerce
- Live Chat
Step 6: Final Build Process #
After confirming your settings, WebOps installs the required plugins and finalizes the build in the background.
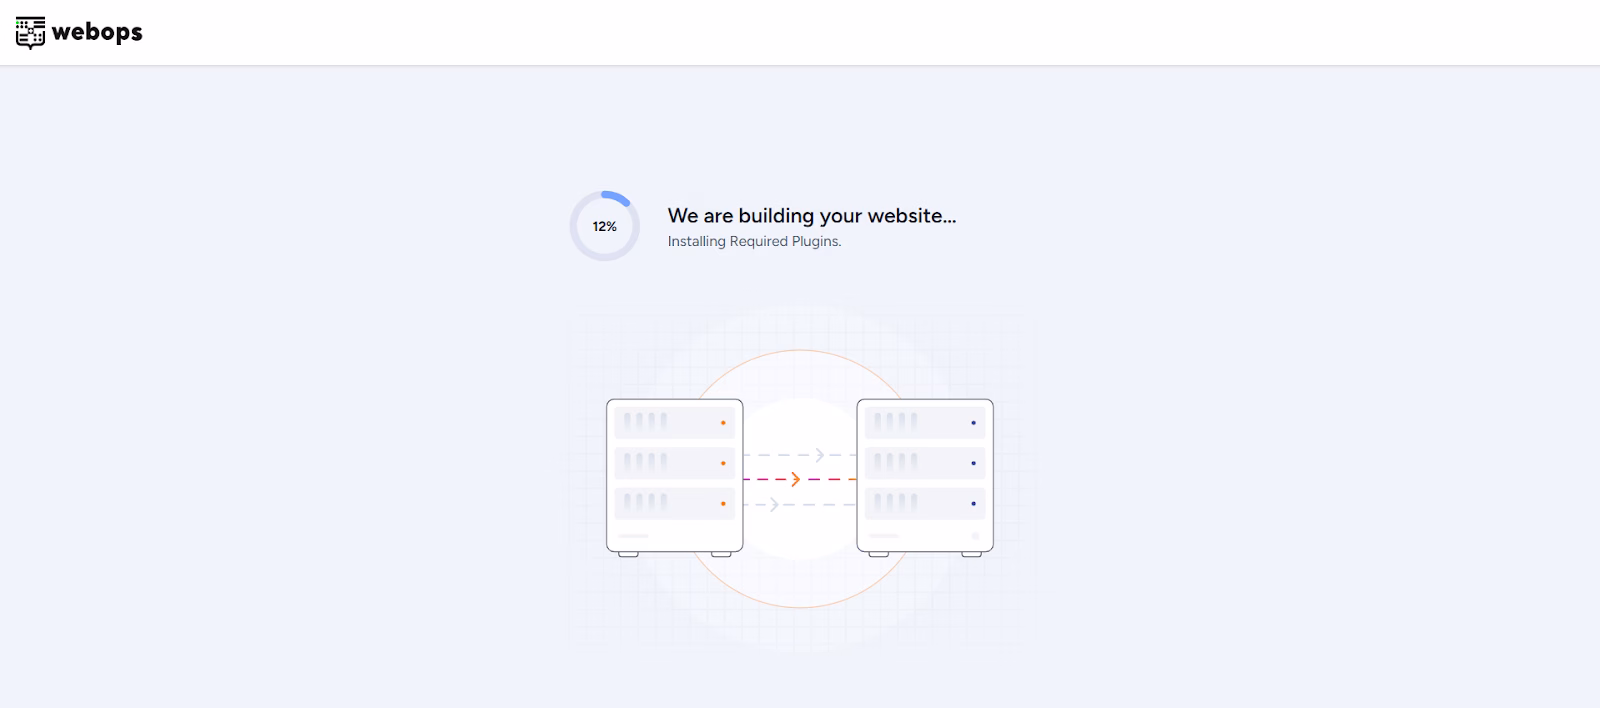
This may take a couple of minutes.
Step 7: You’re In! #
Once everything is set, you’ll have full access to your website.
Helpful Tip: For the best website-building experience, please use our desktop version
That’s it, your website has been created! #
With just a few steps and the power of AI, you’ve built a personalized, professional website. Time to go live and share your brand with the world.